


Your Custom Text Here
We built a Spindrift 10N, a 10 foot long nesting dinghy, for our tender.
I wanted to be able to store the dinghy on deck as well as be able to set it up and launch it single handed. What follows is our prototype setup which worked quite well.
We built a Spindrift 10N, a 10 foot long nesting dinghy, for our tender.
I wanted to be able to store the dinghy on deck as well as be able to set it up and launch it single handed. What follows is our prototype setup which worked quite well.
Step #1
Secure boom out to the opposite side of the boat from where we will launch.
Step #2
Set the support rails up on the lifeline and grab rail. This assembly folds down and can easily be stowed under or next to the dinghy.
Step #3
Attach the lifting hardware to the main sheet bridle. This could be done with a halyard but we use a block and tackle setup with a cleat built in. this makes it possible to do it single handed.
Step #4
Lift the stern section up and over the bow section.
Step #5
Flip the stern section over
Step #6
Place the stern section on the support rails
Step #7
There still is a reasonable amount of weight on the lifting system at this point. We tie a line to prevent the stern section from swinging forward, without this the it will try ti swing into the mast.
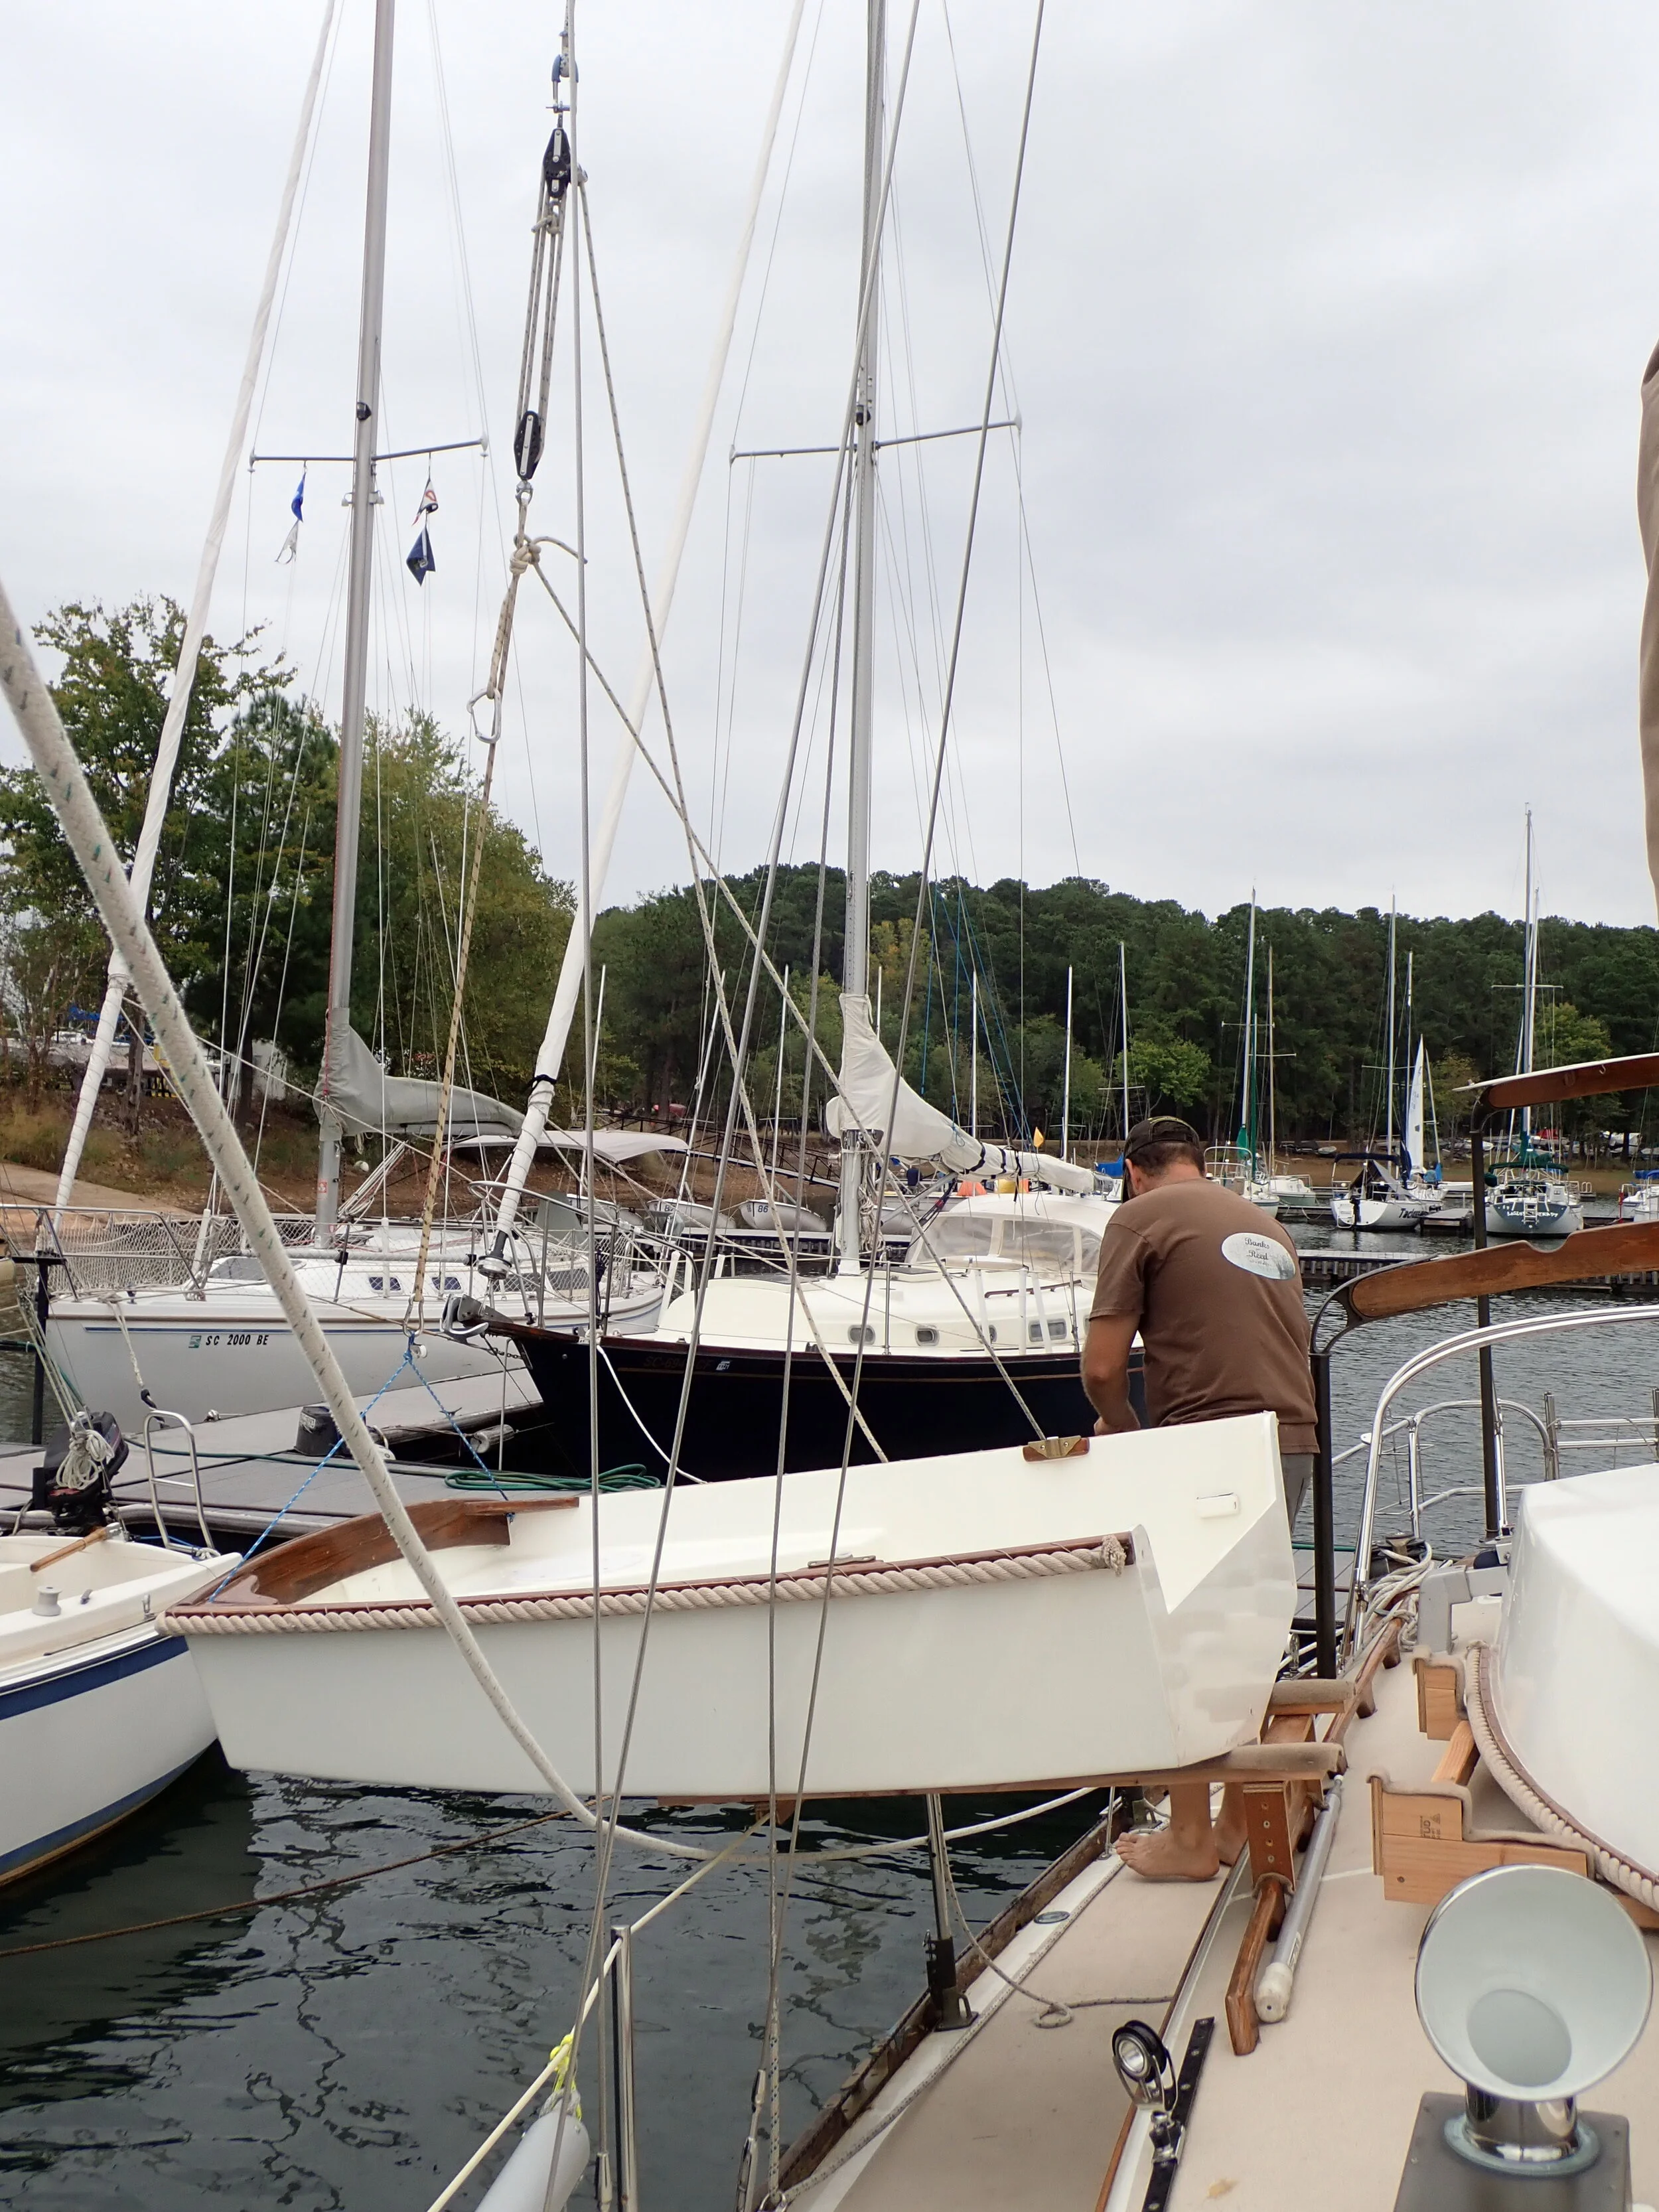
Step #8
Place the bow section
Step #9
Fasten the bat together.
After hooking up the lifting bridle to the bow I check that all the fasteners are tight
Step #10
Launch